了解 Github Webhooks 钩子

前言
Github Webhooks 允许我们构建或设置集成,以订阅 GitHub.com 上的某些事件。 当触发其中某个事件时,将向 Webhooks 配置 Paloyd URL 发送 HTTP POST 请求。可用于更新外部议题跟踪器、触发 CI 构建、更新备份镜像,甚至部署到生产服务器。
场景
- 个人博客
如: 代码提交远程仓库 => 触发 Github Webhooks => 服务器触发器监听 => 同步更新博客
因本文重点在介绍 webhooks 的自动化功能,我们在此场景的基础上,简化一下步骤,将远程服务器改为本地服务器。如: 代码提交远程仓库 -> 触发 Github Webhooks -> 本地服务触发器监听 -> 拉取最新代码
开始
配置 Shell 脚本
- 创建 blog_deploy.sh 文件
1 | #!/bin/bash |
大致意思是,当接收到请求时,会在本地指定目录下,拉取一份最新代码,模拟“服务器同步更新博客”的效果。
搭建本地服务器
- 创建 index.js 文件
1 | var http = require('http') |
如上代码,当 HTTP 请求接口为 /webhooks 时,执行同步资源操作。当然,这里仅仅是一个例子,实际场景中需要校验 Method,请求体,Secret 签名 等信息
- 执行代码,启动端口为 8080 的本地服务
1 | $ node index.js |
- 通过
ngrok实现内网穿透服务
1 | npm install ngrok -g |
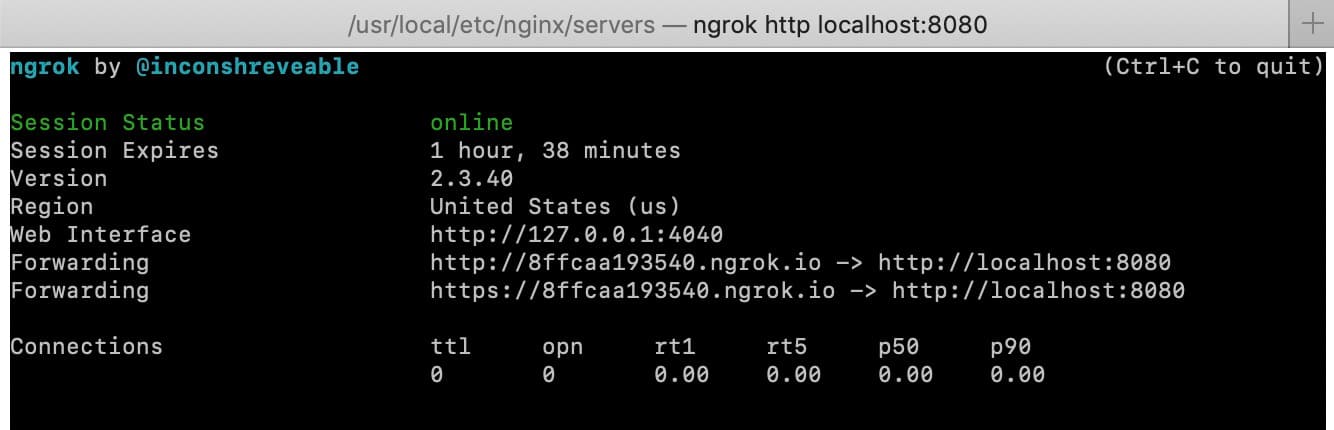
如上图,本地 localhost:8080 指向了 http://8ffcaa193540.ngrok.io,这么做的目前是为了向互联网暴露本地主机,支持外网访问,也为了下一步 Webhooks 的配置使用,。
当然,除了ngrok,也可以通过 nginx 将 当前服务反向代理到指定外网地址的 80 端口。
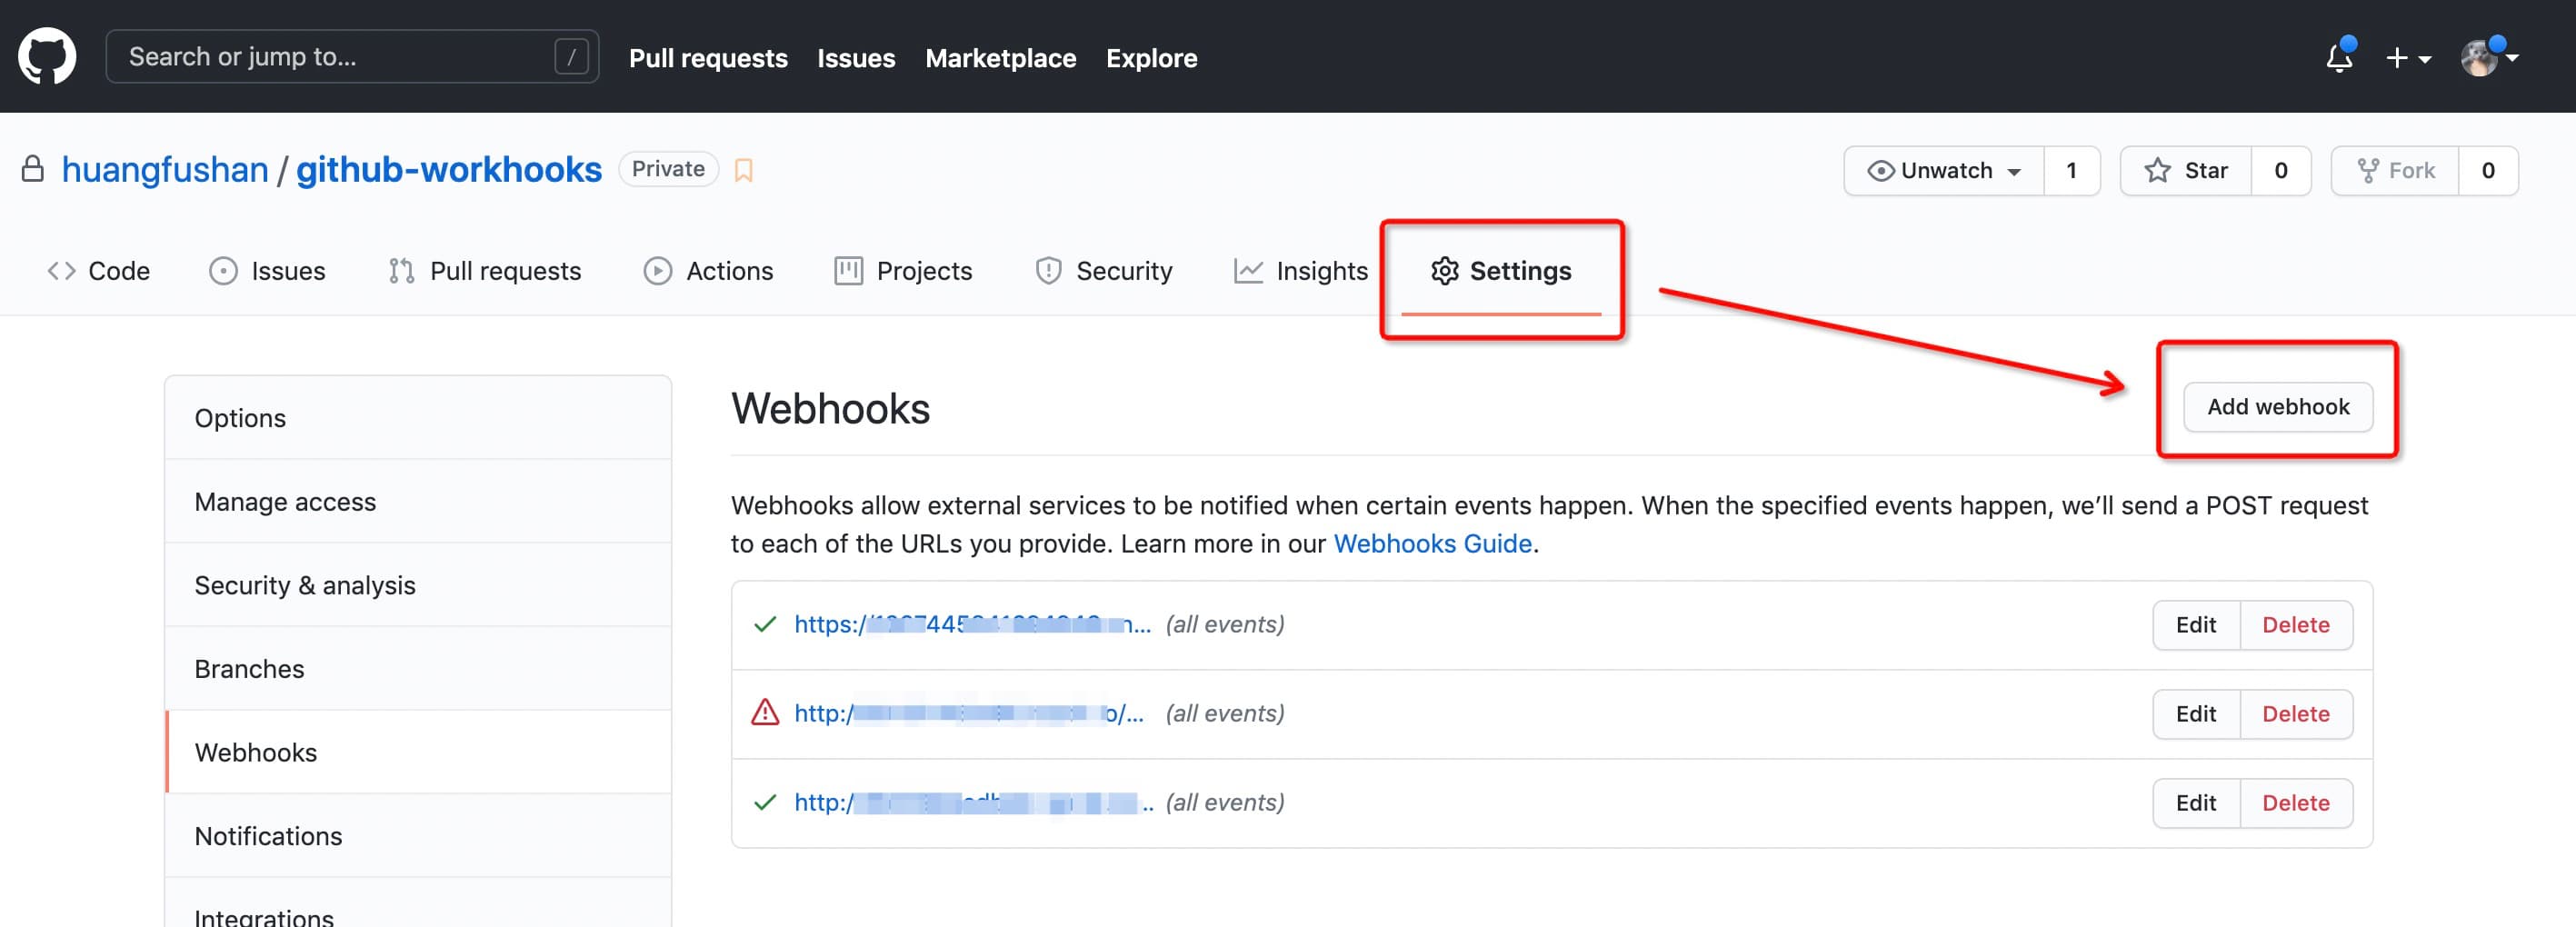
配置 Github Webhooks
创建一个 Github 仓库,如
github-webhooks。到
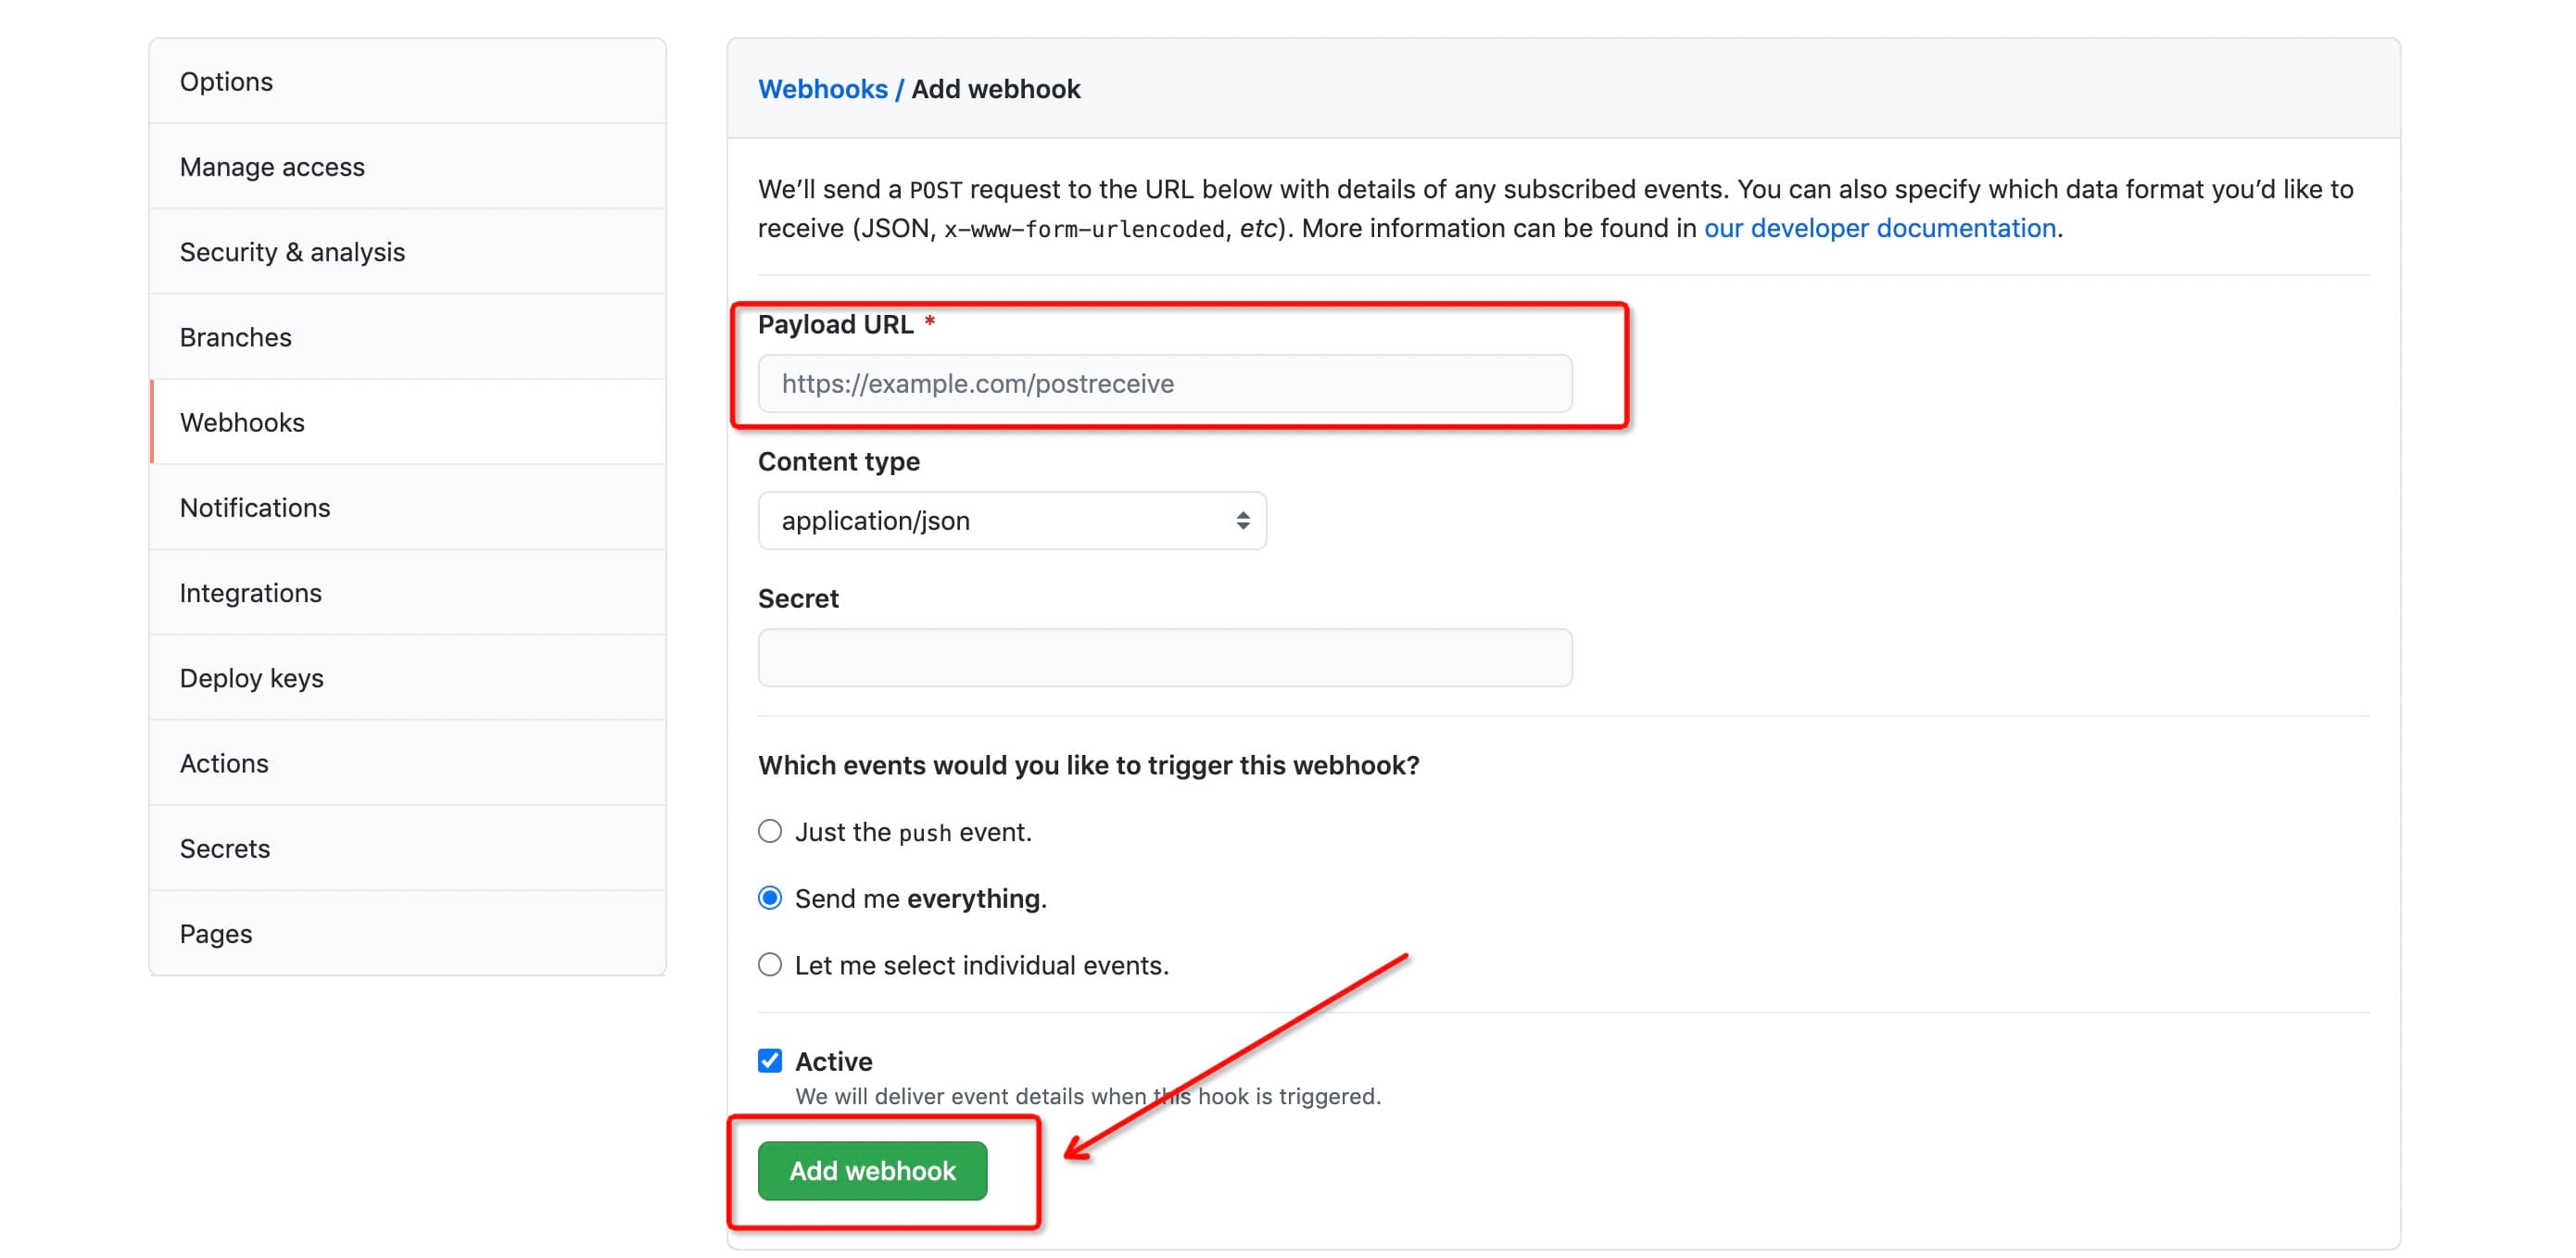
github-webhooks下 Settings,配置 Github Webhooks 监听,其中Payload URL:用来接收请求接口,github 接收到 Repo 的操作指令时,会往这个接口发送一个带有描述操作内容的 Post 请求。这里,我们填写第二步暴露的外网地址,如http://8ffcaa193540.ngrok.io/webhooks,实际效果 Github 将往本地 8080 端口服务发送一个接口为/webhooks的 HTTP 请求。Content Type:两种传参方式,application/json 和 application/x-www-form-urlencodedSecret:令牌校验,加上这个字段之后,来自 Github 的请求 HTTP 请求头会携带 X-Hub-Signature 的加密签名,防止其他恶意请求触发。
触发 Github Webhooks
- 往
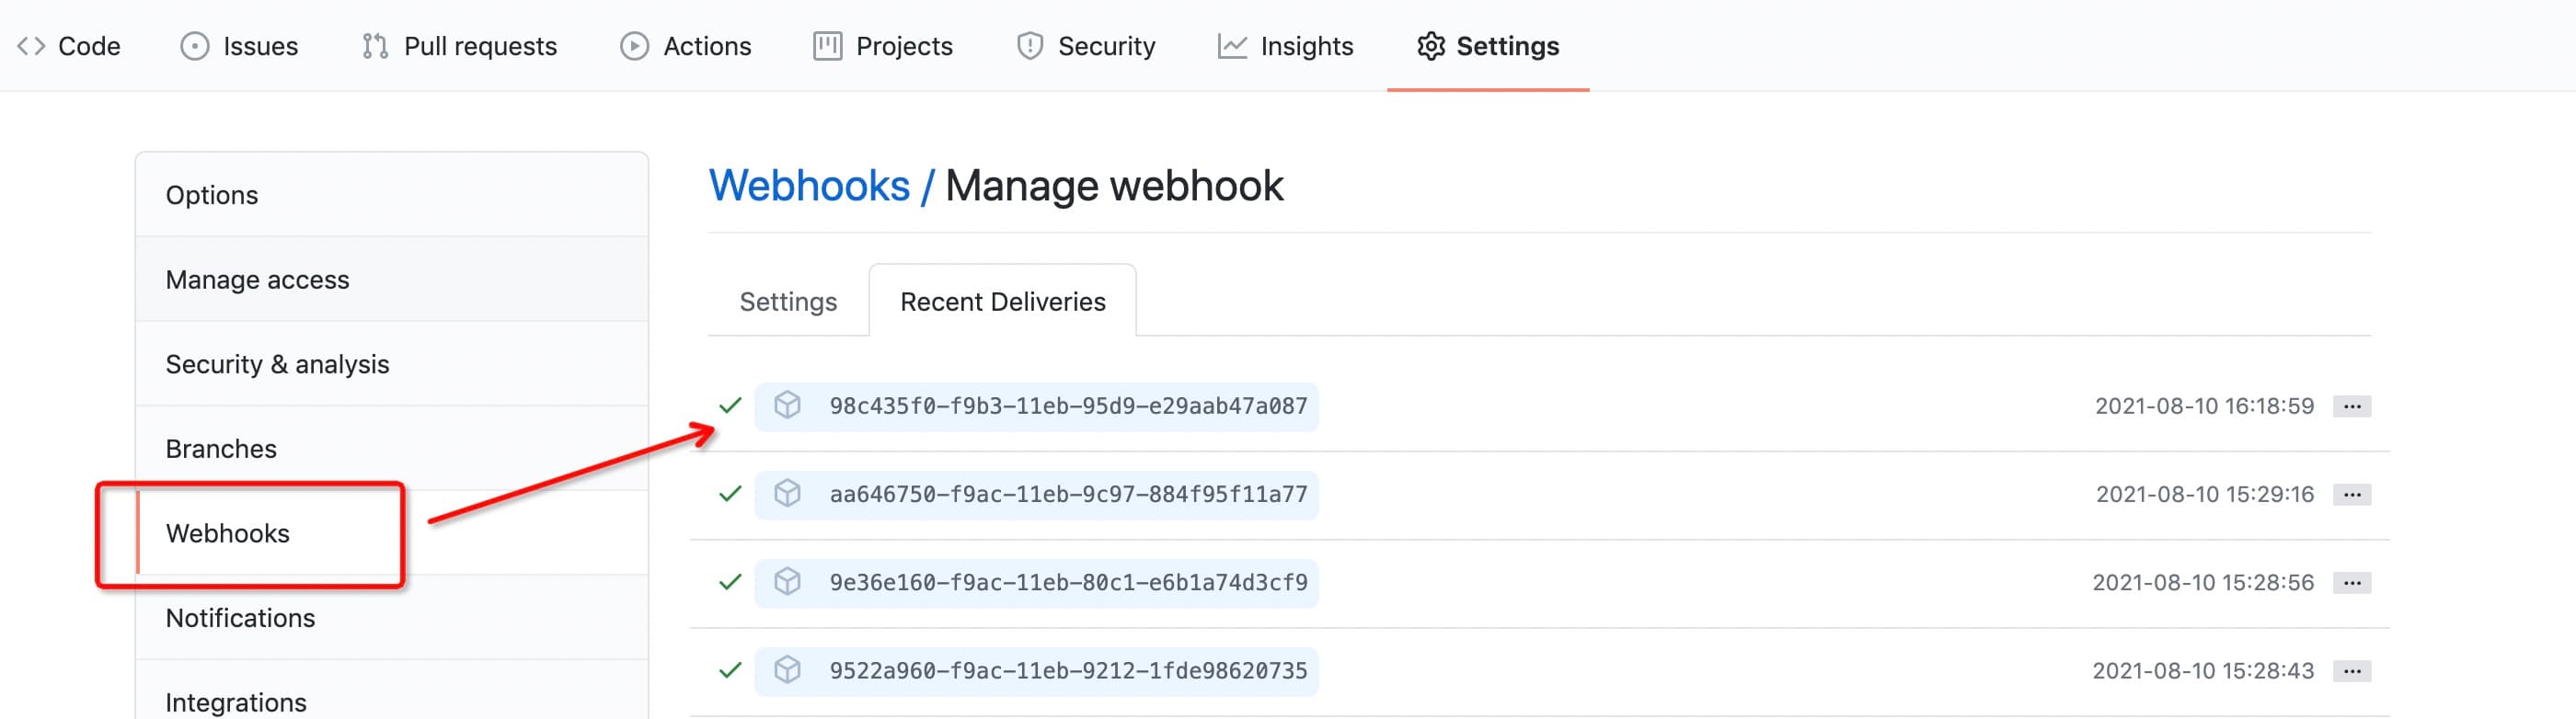
github-webhooks远程仓库提交一个commit,查看是否在本地触发执行 shell 脚本 - 查看 Recent Deliverles 日志
写在最后
搭建本地服务器那一步,部分网友使用
github-webhook-handler插件,来处理 Github 发送过来的 HTTP 请求,并监听各类事件,如push,issues等。
1 | var http = require('http') |
这样也是很方便的,该插件已经帮我们处理了,path,method,Secret 令牌签名等等校验,并针对 Github 各种事件监听。但是美中不足的是,该插件不支持 application/x-www-form-urlencoded 的请求方式,仅支持 JSON 格式。
后续我会另找时间,争取解决上诉插件存在的问题。
github 更多事件,见 Webhooks events & Payloads。